Spot UV Varnish
What is Spot UV?
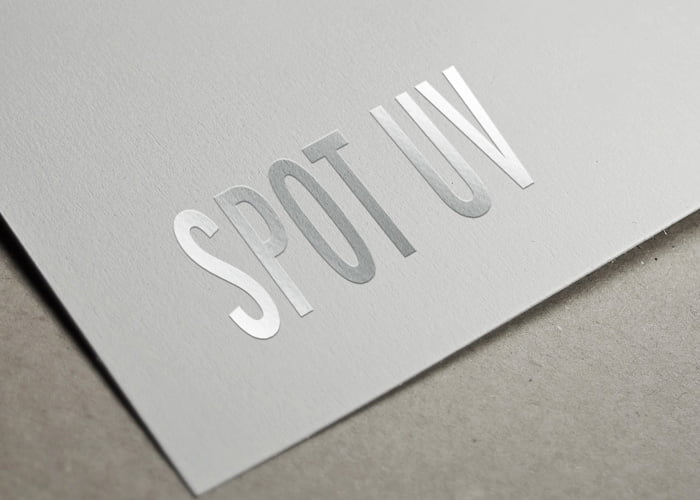
At Printed Notepads, we offer spot UV printing services, also known as UV printing, spot varnish, or spot gloss. Spot UV is a clear varnish that can be applied to certain areas on a page to create a contrasting texture between a dull matte and a high-shine gloss.
Spot UV can be applied in a matte finish on top of a gloss background, but it’s more commonly applied as gloss on a matte background. When gloss spot UV is added to print, the colors are lifted and become more vibrant, creating a glossy 3D effect.
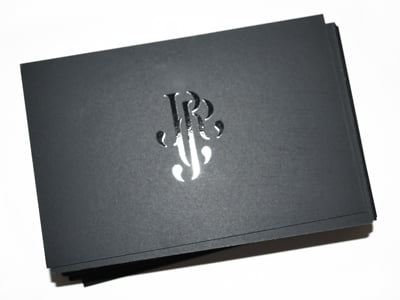
Gloss spot UV is typically used for logos and selected photographs within brochures, as well as for highlighting text on a business card. However, the possibilities for spot UV printing are endless, and it can be used for a variety of different applications.

Blind Spot UV
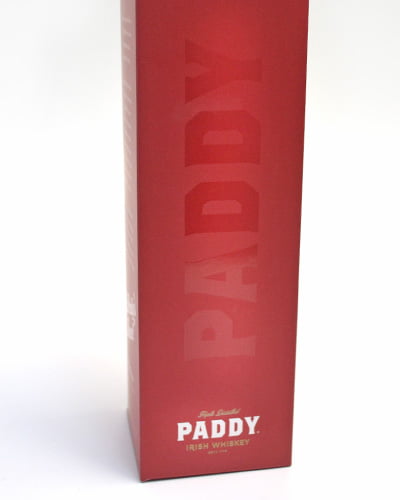
For a more subtle effect, blind spot UV printing may be the answer. With blind spot UV, the UV varnish is applied to a plain background without any specific print below it. This technique is popular for notepads, where your logo can appear to shine out of the card as if by magic, disappearing and reappearing as the card is tilted.
Blind spot UV can also work well with text. For example, you could repeat your company name or message over the entire surface of your printed item. To maximize the wow factor of gloss spot UV, it’s best to apply it on top of a matte lamination. Soft-touch lamination, also known as velvet lamination, will give your printed item a truly luxurious look and feel.
It’s important to note that spot UV should not be added to unlaminated paper, as it can be absorbed and the desired high-gloss effect will be lost.

Blind Spot UV on Whisky Box
How is spot UV applied
To apply spot UV, the printed and laminated sheet is placed under a template and fed into a machine that applies the polymer, a durable clear liquid. The sheet is then instantly dried under infrared and UV lamps, which is why this process is also known as spot UV printing.
Setting up artwork
Artwork is supplied in the usual way with the spot UV area supplied as a separate file. This file should contain only the UV area and nothing else.
- Create an extra layer in your design tab and entitle it spot UV.
- Select a clashing colour, e.g. 100% magenta and save it as spot UV.
- In the first layers of your file copy the areas which will have spot UV and paste this on your new Spot UV layer in exactly the same position.
- The spot UV layer should now be coloured magenta.
Select the Spot UV areas carefully.
It’s important to keep in mind that the spot UV effect is meant to create contrast and highlight specific areas of the design, and using it too liberally can dilute its impact. Therefore, it’s generally recommended to use spot UV selectively and strategically, focusing on key design elements such as logos, text, or images, to create a striking effect.
Think about the finishing process of your item.
It’s important to note that when adding spot UV to your design, it’s best to avoid placing it too close to folds or trimmed areas. This is because the varnish requires a consistent surface tension to maintain its integrity, and if placed too close to these areas, it may crack or flake off. As a general rule, a minimum distance of 3mm is recommended between the spot UV and any folds or trimmed areas. At Printed Notepads, we have the expertise to ensure that your spot UV is placed correctly to achieve the best results. Contact us today to learn more about our spot UV printing services.

Spot UV on logo on business card
If you have any questions about Spot UV then call us on 023 8087 8037 or email us.